How to Sew Cat Toys: Easy Steps for Fun DIY Pet Playthings
Have you ever wanted to create something special that your cat will love? Sewing your own cat toys is easier than you think, and it’s a fun way to keep your furry friend entertained.
Imagine the joy on your cat’s face when they play with a toy made just for them by you. In this guide, you’ll discover simple steps and handy tips to make safe, durable, and irresistible toys your cat won’t want to put down.
Ready to turn fabric and thread into hours of feline fun? Let’s get started!
Credit: kdfoundation.org
Contents
Materials Needed
Gathering the right materials is the first step to sewing cat toys. Choosing good supplies helps make toys safe and fun for cats. You will need fabric, stuffing, and a few extra tools. Each material plays a role in the toy’s look and feel. Here is a simple list of what you need.
Fabric Choices
Pick soft fabrics that cats like to touch. Cotton, fleece, and felt work well. These materials are gentle and easy to sew. Avoid fabrics with loose threads or sharp edges. Bright colors or patterns can make toys more exciting.
Stuffing Options
Stuffing gives shape and bounce to your toy. Use polyester fiberfill for a soft, fluffy feel. Another choice is fabric scraps for an eco-friendly option. Avoid stuffing that can harm cats if they bite it. Keep it light and safe.
Additional Supplies
You will need basic sewing tools like needles and thread. Choose strong thread to hold the toy together. Scissors, pins, and a sewing machine help speed up the process. Adding catnip or bells inside can make toys more fun.
Credit: easythingstosew.com
Basic Sewing Techniques
Basic sewing techniques are the foundation for making fun cat toys. Knowing simple stitches and how to use a sewing machine helps you create strong, safe toys for your pet. Hand sewing is also useful for small details or quick fixes. These skills make crafting easy and enjoyable.
Simple Stitches
Start with basic stitches like the running stitch and backstitch. The running stitch is a quick way to join fabric edges. Use small, even stitches to keep the toy sturdy.
The backstitch is stronger and good for seams that need extra strength. It looks like a continuous line and holds fabric tightly. Practice these stitches on scrap fabric before sewing your toy.
Using A Sewing Machine
A sewing machine speeds up the process and makes neat seams. Choose a straight stitch for most cat toys. Adjust the stitch length to be short for durability.
Keep fabric flat and guide it gently through the machine. Avoid pulling or pushing, which can cause uneven seams. Stop and lift the presser foot to turn corners smoothly.
Hand Sewing Tips
Use a sharp needle and strong thread for hand sewing. Knot the end of the thread to prevent slipping. Keep your stitches small and close together for safety.
Take breaks to avoid hand strain. Use a thimble to protect your finger when pushing the needle through thick fabric. Hand sewing is perfect for filling toys or closing small openings.
Toy Designs To Try
Creating cat toys by sewing is fun and rewarding. You can make toys that your cat will love and enjoy. Choose simple shapes to start with. These designs are easy to sew and perfect for beginners. Each toy can be filled with catnip for extra fun.
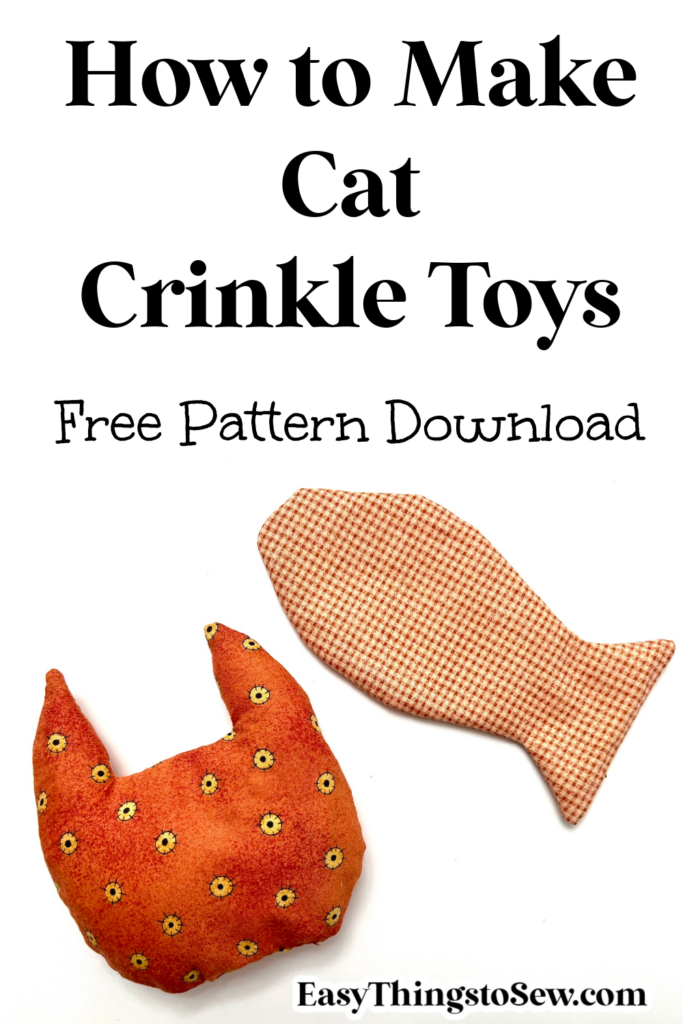
Mouse Shape
The mouse shape is a classic cat toy. Cut out two small ovals from fabric. Sew them together, leaving a small opening. Fill with stuffing and catnip. Sew the opening closed. Add a small tail using fabric or yarn. Your cat will love chasing this little mouse.
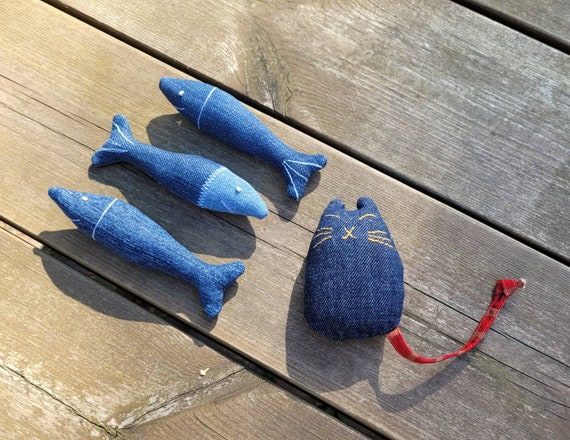
Fish Shape
The fish shape is another great option. Cut two fish-shaped pieces from fabric. Sew them together with a small opening left. Stuff with soft filling and catnip. Close the opening with stitches. You can use felt or cotton fabric for this toy. Cats enjoy batting and carrying fish toys around.
Feather Attachments
Feathers add excitement to any toy. Sew a small pouch or ball and attach feathers at one end. Use strong thread to hold feathers firmly. Feathers mimic bird movements, attracting your cat’s attention. This toy encourages jumping and pouncing. Perfect for active cats who love to play.
Adding Catnip And Bells
Adding catnip and bells makes homemade cat toys more fun and exciting. Cats love toys that smell good and make sounds. These features catch their attention and keep them playing longer.
Choosing the right catnip and using bells carefully is important. It keeps your cat safe and happy. Here are some tips to add catnip and bells to your toys.
Choosing Catnip
Pick high-quality catnip for the best effect. Fresh, dried catnip works well. Avoid catnip with dust or stems that may irritate your cat.
Use organic catnip when possible. It is free from harmful chemicals. Sprinkle a small amount inside the toy. Too much catnip can make your cat overexcited.
Incorporating Bells Safely
Choose small, lightweight bells that are not loud. Loud bells can scare or annoy cats. Sew the bell tightly inside the toy’s fabric. Make sure it does not come loose.
Check the bell regularly for damage. Remove the bell if it breaks or becomes a choking hazard. Secure sewing keeps your cat safe during playtime.
Assembling The Toy
Assembling the cat toy is an exciting step. It brings your creation to life. Follow simple steps to make a safe and fun toy for your cat. Each step is important. Careful assembly ensures durability and safety.
Cutting Patterns
Start by placing your paper patterns on the fabric. Pin them down to keep steady. Use sharp scissors for clean cuts. Cut slowly around the edges. Make sure to cut two pieces for each part of the toy. Double-check the shapes match perfectly.
Sewing Pieces Together
Place the fabric pieces with the right sides facing each other. Pin them to hold in place. Sew along the edges, leaving a small opening. Use a straight stitch for strong seams. Sew slowly to keep the lines neat. Remove pins as you sew to avoid damage.
Stuffing And Closing
Turn the sewn pieces inside out through the opening. Use soft stuffing to fill the toy lightly. Avoid overstuffing to keep it flexible. Add catnip if you want extra fun. Sew the opening closed with small, tight stitches. Check the seams to ensure nothing will come loose.
Safety Tips For Diy Toys
Making your own cat toys is fun and rewarding. Safety is very important to protect your cat from harm. Follow these tips to keep your DIY toys safe and strong.
Avoiding Small Parts
Small parts can be a choking hazard. Avoid buttons, beads, or tiny decorations. Use fabric and materials that cannot be chewed off easily. Always choose safe, non-toxic stuffing. Your cat will play without risks.
Durability Checks
Strong toys last longer and keep cats safe. Sew seams tightly and double-stitch if possible. Test the toy by tugging gently to check strength. Replace or repair toys showing wear or loose threads. Durable toys protect cats from swallowing parts.
Creative Variations
Sewing cat toys offers endless chances to get creative. Small changes make each toy special and fun. This keeps your cat interested and happy. Try different ideas to find what your cat loves most.
Using Different Fabrics
Choose fabrics that feel good to touch. Soft cotton is gentle and easy to sew. Felt works well for simple shapes and holds stuffing nicely. Try denim or canvas for tougher toys that last longer. Bright colors and patterns catch your cat’s eye. Mix smooth and rough textures to add fun. Always pick safe, non-toxic fabrics for your pet.
Adding Interactive Elements
Add small bells inside toys to make sounds your cat loves. Sew in crinkly paper or plastic for noisy fun. Use ribbons or feathers to create moving parts. Attach a string so you can play together. Include catnip pockets for extra excitement. These features keep cats busy and entertained longer. Interactive toys help cats stay active and happy.
Maintaining And Cleaning Toys
Keeping cat toys clean and in good shape helps your cat stay healthy and happy. Dirty toys can carry germs that might make your cat sick. Worn-out toys can break and cause small parts to come loose, which can be dangerous. Regular care of your sewn cat toys extends their life and keeps playtime safe.
Washing Instructions
Wash fabric cat toys by hand in warm water with mild soap. Rinse them well to remove all soap. Let toys air dry completely before giving them back to your cat. Avoid using harsh detergents or bleach as they can irritate your cat’s skin. For toys with stuffing, make sure the filling does not get too wet or lumpy.
Repairing Wear And Tear
Check toys often for loose threads or holes. Use a needle and matching thread to sew small tears quickly. For bigger damage, remove old stuffing and replace it with new filling. Avoid sharp needles or pins near your cat. Fixing toys early stops damage from getting worse and keeps your cat safe.
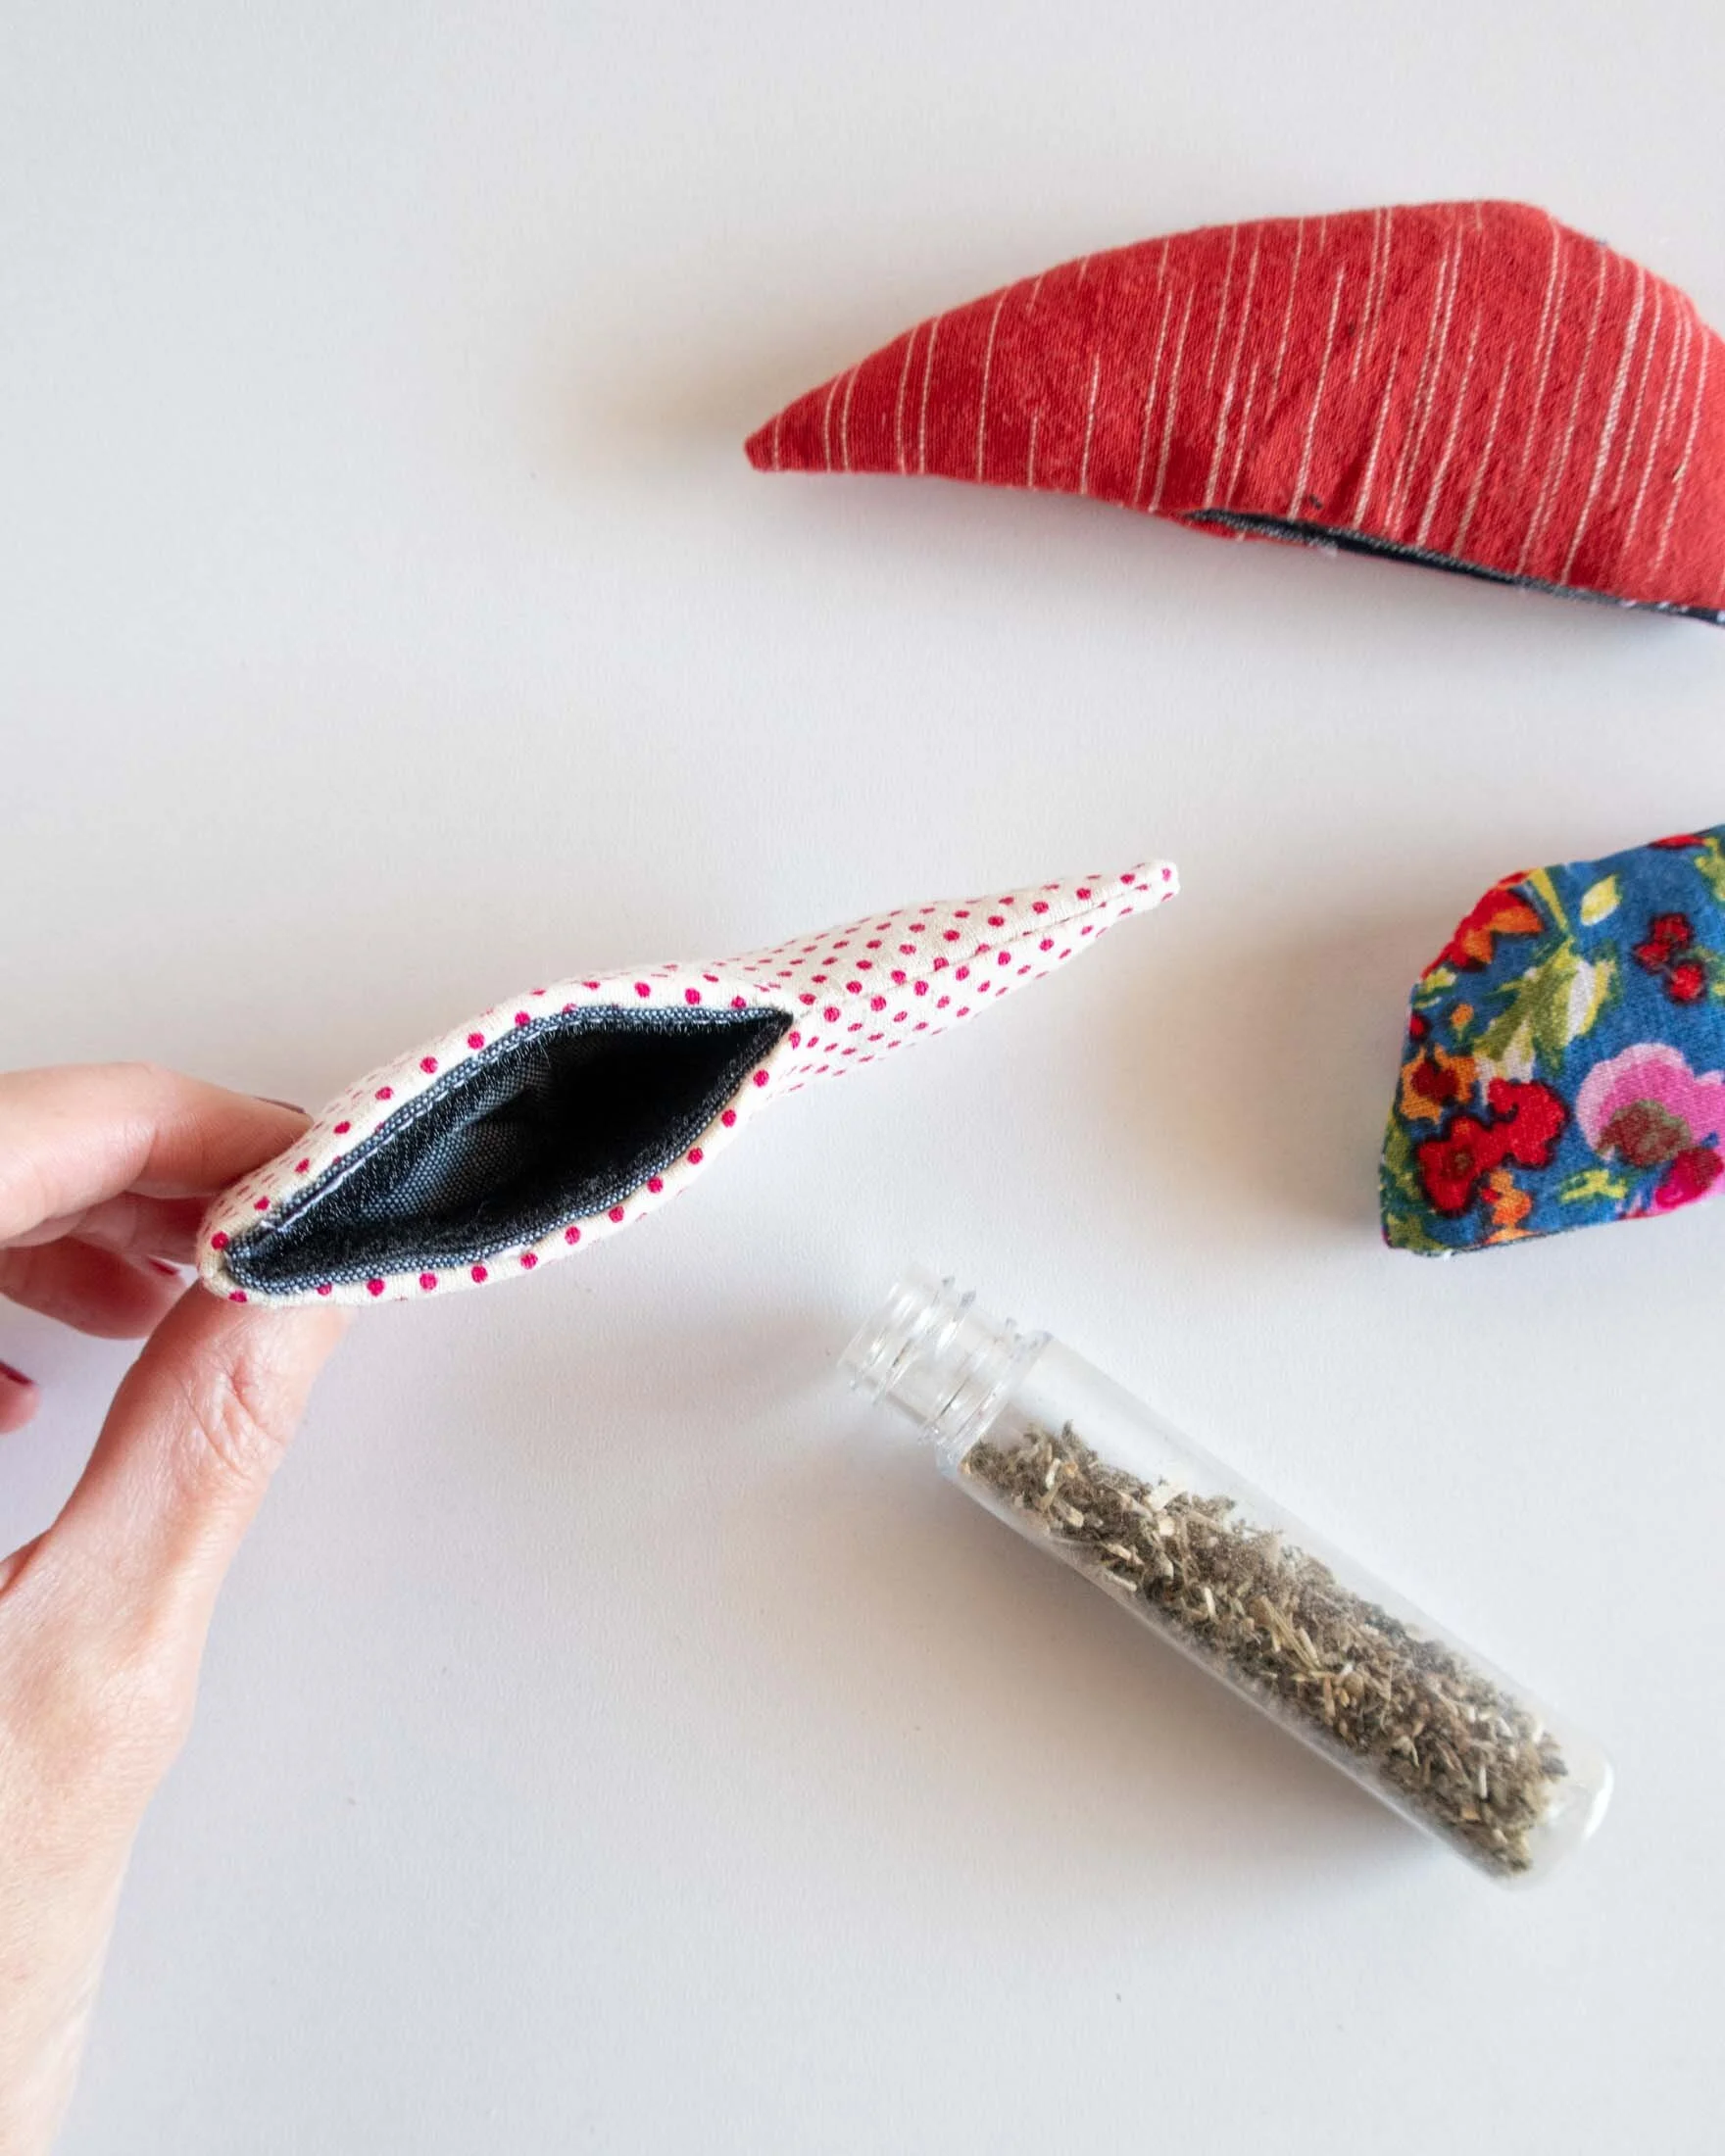
Credit: www.etsy.com
Frequently Asked Questions
What Materials Are Needed To Sew Cat Toys?
To sew cat toys, you need fabric, stuffing, thread, needle, scissors, and optional catnip. Choose soft, durable fabric like felt or cotton for safety and comfort.
How Do You Safely Add Catnip To Toys?
Sprinkle dried catnip inside the toy before sewing it closed. Use a small amount to avoid overwhelming your cat.
What Are Simple Sewing Patterns For Cat Toys?
Basic shapes like mice, fish, or balls work well. Use simple, small patterns that are easy to sew and safe for cats.
How Long Does It Take To Sew A Cat Toy?
Most simple cat toys take 15 to 30 minutes to sew. Time depends on design complexity and sewing skill level.
Conclusion
Sewing cat toys is simple and fun. You only need a few materials to start. Choose soft fabrics and safe stuffing for your pet. Handmade toys bring joy and save money. Your cat will love the new playthings. Try different shapes and sizes to find favorites.
Keep sewing, and enjoy watching your cat play happily. This hobby is rewarding and easy to learn. Give it a try today!